VENDOR SHOPIFY SYNC GUIDE
INTRO TO SYNCING
1. Product Syncing
Product mapping is the way we synchronise products between the your store (the Vendor)and the ArtisanBox store (the Merchant).
For product mapping - the vendor takes the initiative to choose the specific products they intend to offer on themerchant’s website. Following that, the vendor establishes a mapping connection between the products listed on their own website and the corresponding products available on the merchant’s platform.
This mapping ensures that the vendor’s products are correctly synchronised with the relevant listings on the merchant’s website, facilitating seamless integration and accurate representation of the vendor’s offerings to the merchant’s customers.
II. Inventory Syncing
Inventory syncing between a vendor’s store and a merchant’s store is a crucial aspect of maintaining accurate and up-to-date product information across platforms. By synchronising inventory, vendors can ensure that their product availability, stock levels, and other relevant details are consistent with the merchant’s store. This facilitates a seamless customer experience and prevents issues such as overselling or displaying incorrect stock information.
III. Order Push
With the Shopify integration, an efficient feature is available that enables automatic order information push from the Merchant store to the Vendor store for seamless fulfilment. When an order is received on the Merchant store, this feature triggers the automatic transfer of order details to the Vendor store. This ensures that the Vendor is promptly notified by an email and can begin the fulfillment process.
Once the Vendor fulfills the order, including providing tracking details, this information is automatically pushed back to the Merchant store. This integration streamlines the order fulfillment process, eliminates manual data entry, and enables both the Merchant and Vendor to stay updated on the order status and tracking information, enhancing customer satisfaction.
When a merchant needs to cancel an order on their store, they have the ability to initiate the cancellation process. Once the cancellation is initiated, the relevant details are automatically pushed to the vendor store. This ensures that the vendor is promptly informed about the order cancellation, allowing them to take appropriate actions and update their records accordingly.
Merchants have the capability to update orders directly on their merchant store, and the changes made to specific order properties such as buyer-accepts marketing, email, phone, note, tags, metafilelds, and shipping address attributes are automatically pushed to the corresponding order on the vendor store. However, it’s important to note that this functionality is designed for modifying order details and properties, and does not include the ability to edit the items within an order.
IV. Auto add and Auto remove variants
This feature enables automatic addition and removal of variants for products on the vendor store that are linked to the merchant store. When a vendor adds a variant to a mapped product, it will be automatically added to the corresponding product on the merchant store. Conversely, if the vendor removes a variant from a mapped product, it will be automatically removed from the corresponding product on the merchant store. This ensures that both stores stay in sync with the latest product variations.
V. Auto add options
The feature enables automatic generation of variants with added options for products on the vendor store that are mapped with the merchant store. When the vendor adds new options to a mapped product, corresponding variants will be automatically generated on the merchant store, ensuring that the product’s variations are consistently updated across both platforms.
SETTING UP SHOPIFY SYNCING

Step 1:
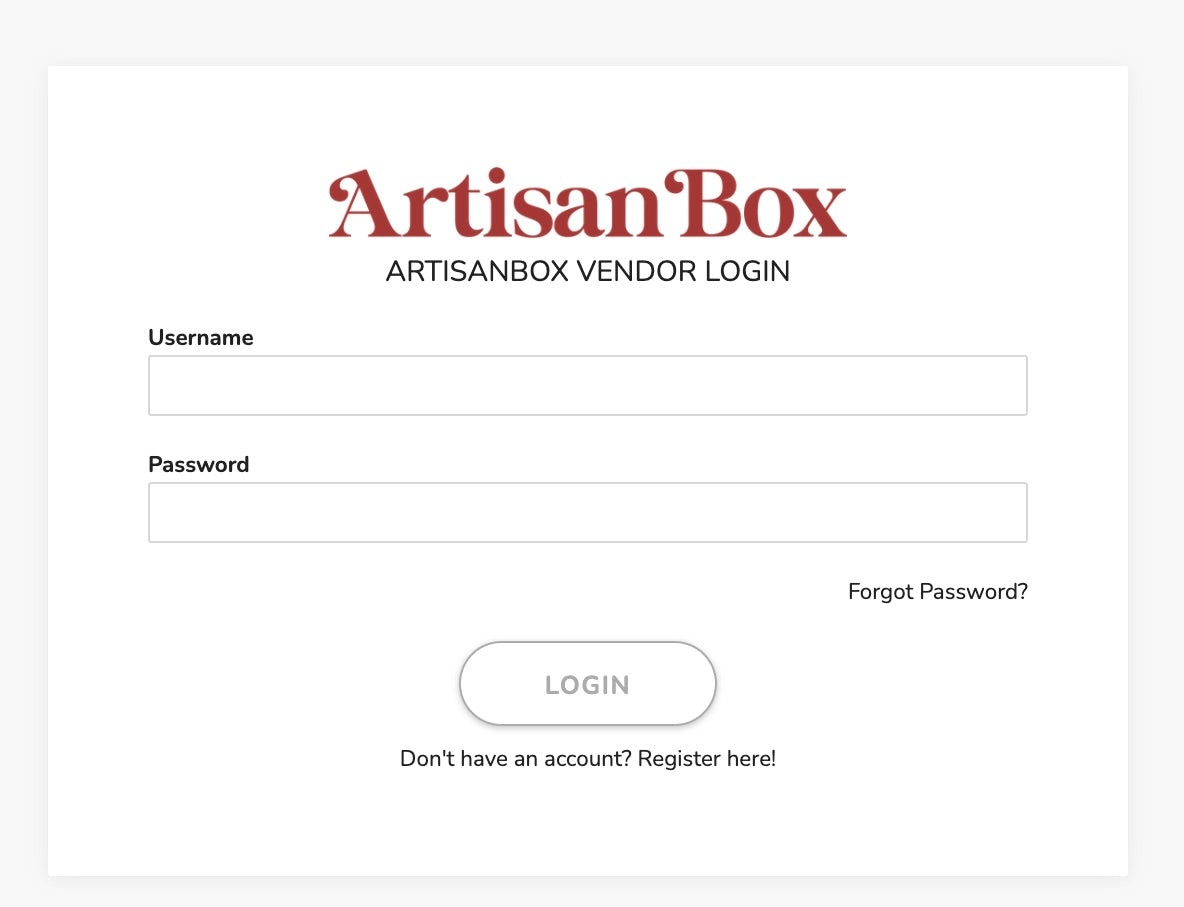
Login to the Vendor account using given credentials

Step 2:
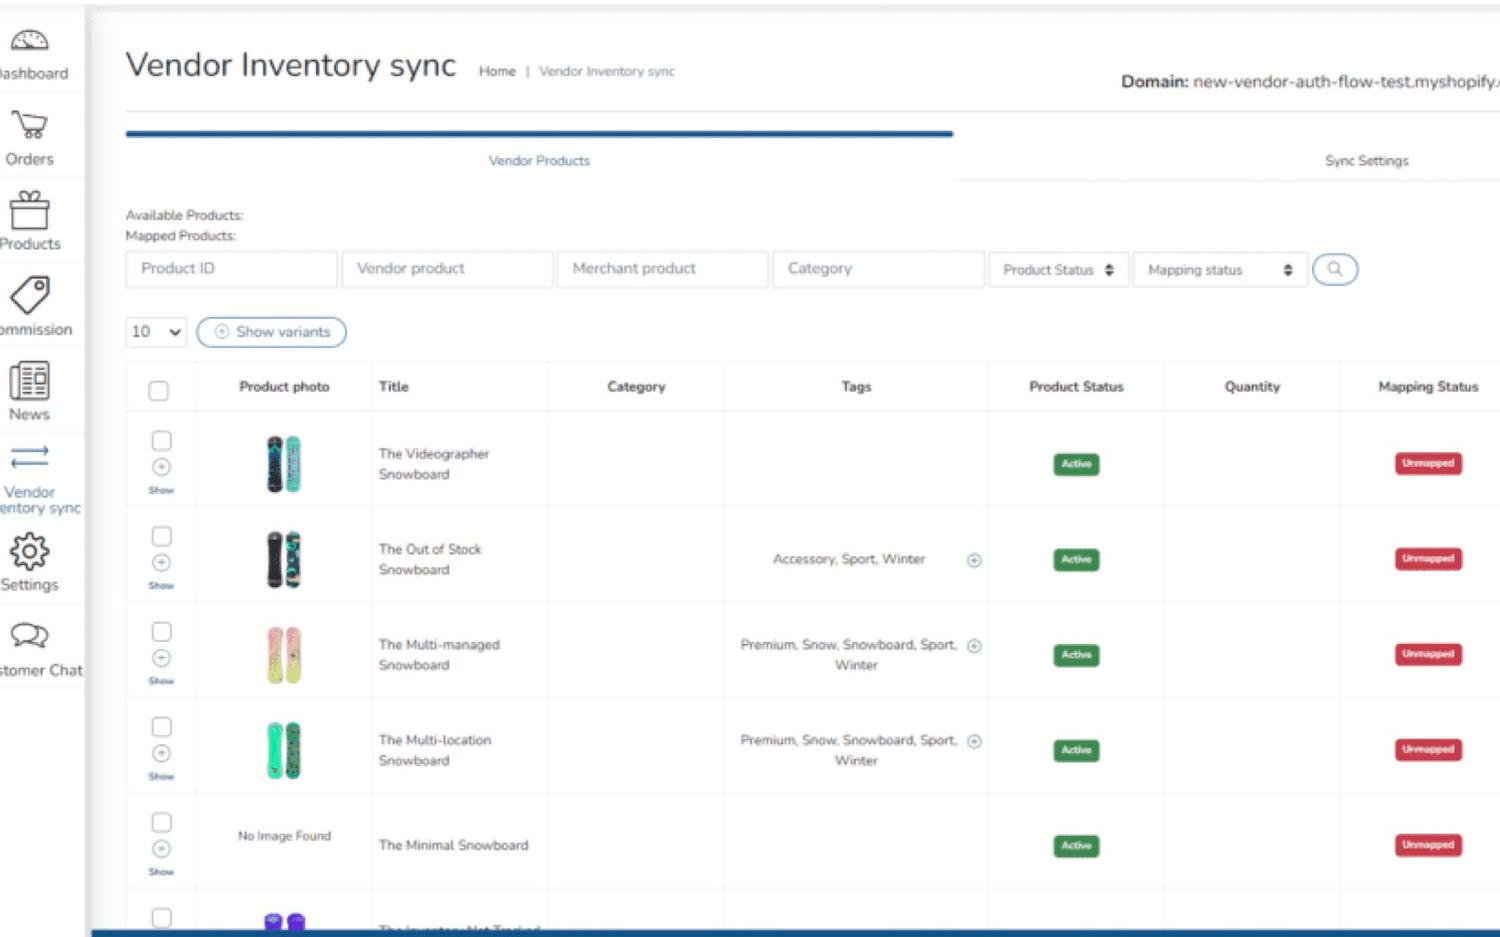
Navigate to Vendor Inventory Sync tab

Step 3:
Connect to Shopify
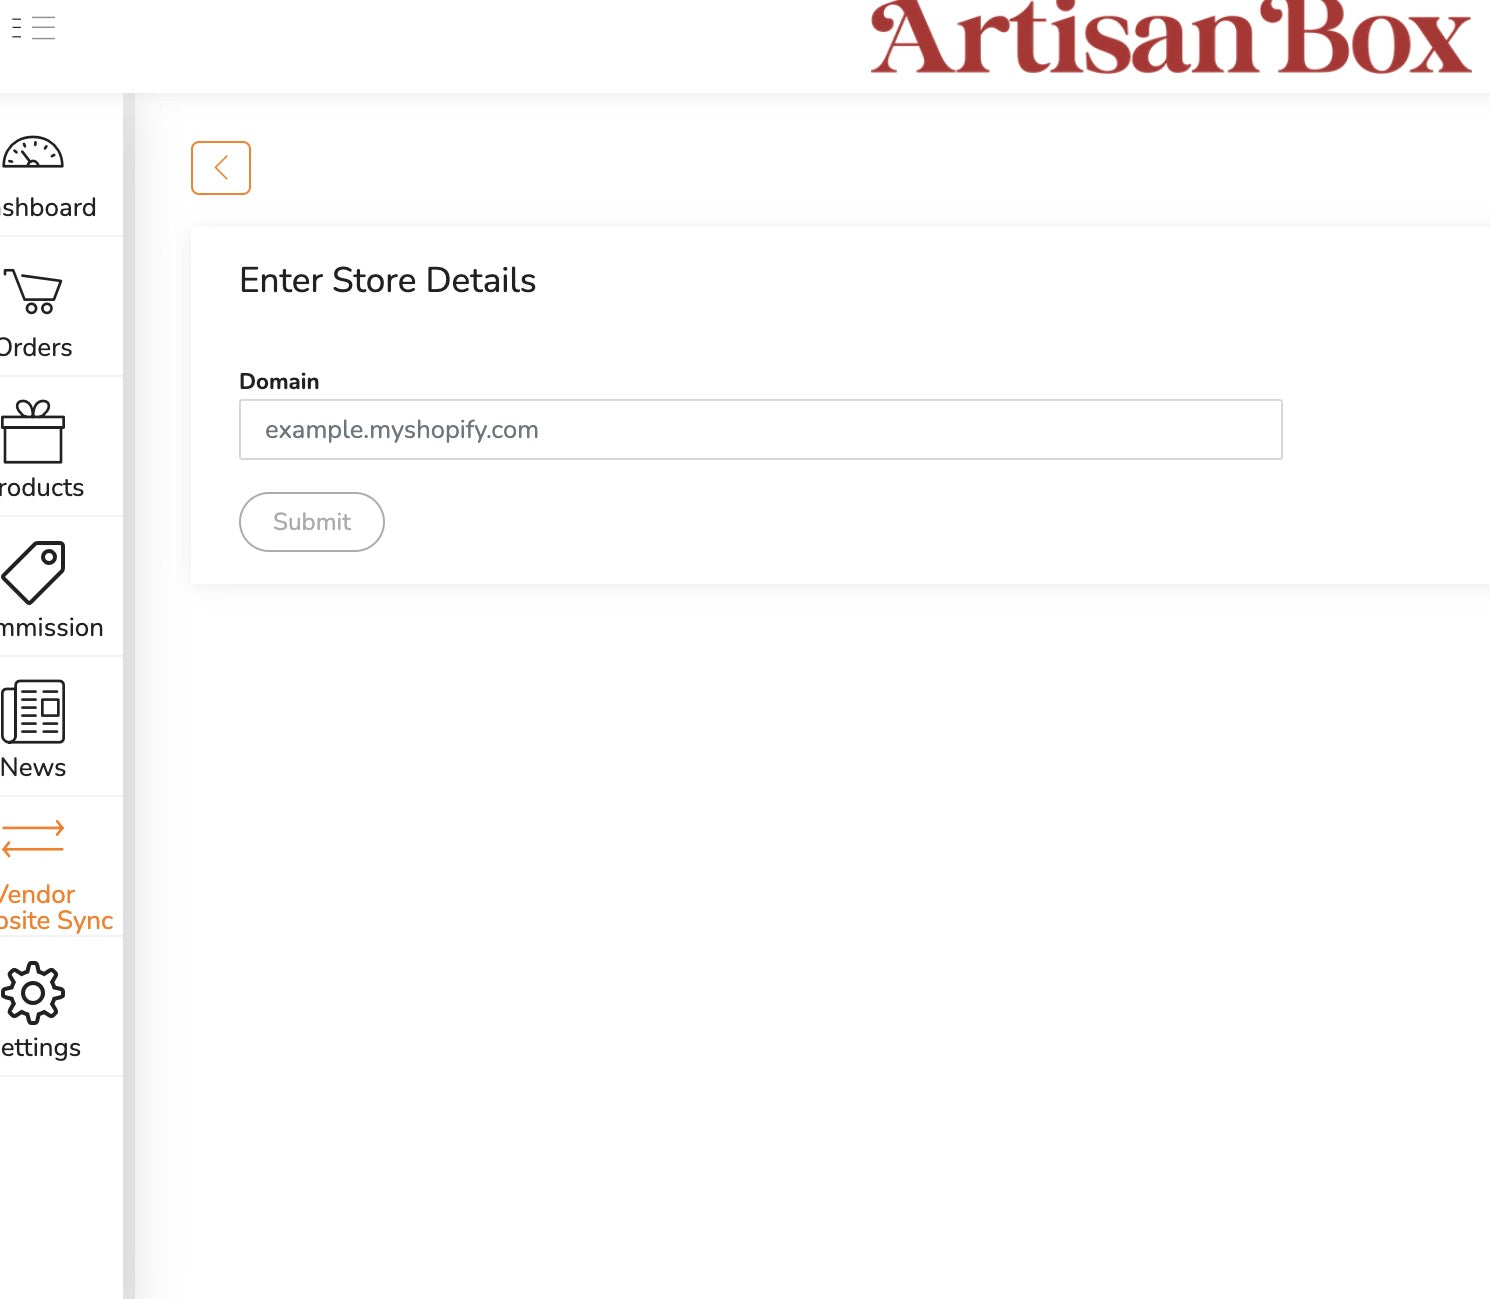
Click on Shopify connect button -> Enter Domain ->Click on Submit.
Enter the domain as it was when you created your shopify store. If you can't remember go to Shopify store → settings → store details and you can find storename and then append .myshopify.com i.e., If your store name is ACME then your domain would be ACME.myshopify.com

Step 4:
Install app – Vendor Store Sync
Install the application as per any other app on your Shopify store.
Make sure you have access to install the app on the store you are trying to connect

Step 5:
After installation, you will be redirected to yourVendor Portal Vendor Inventory Sync tab

Step 6:
Wait for Merchant approval
Once approved by ArtisanBox, you the vendor will see your products and inventory levels sync with the ArtisanBox Platform.
MANAGING YOUR SYNC
Through product mapping, Vendors control which products are mapped to ArtisanBox.
However, the vendor has the ability to review the information that is transmitted during the creation and update processes of a product. It’s important to note though, that the vendor does not have the authority to modify which information is shared.
Any changes or modifications to this data must be made by the merchant, as they have control over the product information within their platform.
It is recommended that vendors review the product details thoroughly before initiating the creation or update process, ensuring that the information accurately represents the product they intend to offer.
MANAGING YOUR PRODUCT MAPPING
There are two scenarios for mapping products between your (the Vendors) inventory and ArtisanBox’s platform:
1. Mapping New Products (doesn’t currently exist on ArtisanBox)
- Access the vendor inventory sync tab.
- Search for the desired product.
- Locate the + icon in the action column and click on it.
- A popup window will appear.
- Confirm the mapping by clicking on the confirm button.
- Wait for the merchant’s approval, and the Mapping Status will be updated to “mapped.”
2. Mapping vendor product when products already exist on ArtisanBox Platform.
The processing for mapping existing product is -
- Access the vendor inventory sync tab.
- Select the products that need to be mapped.
- Click on the pencil icon button located in the actions tab of the respective product
- A dialog box appears as below where you can search for the product present in the merchant store and map your product to the product on ArtisanBox.
- Confirm the mapping by clicking on the confirm button.
- Wait for the merchant’s approval, and the Mapping Status will be updated to “mapped.
Issues to note for using the Mapping Logic
1. Count of variants must be same
2. SKUs must be unique
3. SKU cannot be null
There are instances where errors in mapping can occur such as the scenario below. In this scenario, ArtisanBox already has products from Vendor A. Product P1 has two variants: V1 & V2 with two SKU codes for the variants of S1 and S2. The vendor is attempting to map their product “P2” with variants V1 and V2 having the same SKU codes S2 and S1. However, the mapping logic does now allow the mapping to complete because Shopify does not permit variants with the same name. Therefore, the vendor will need to adjust their variant names to proceed with the mapping.


